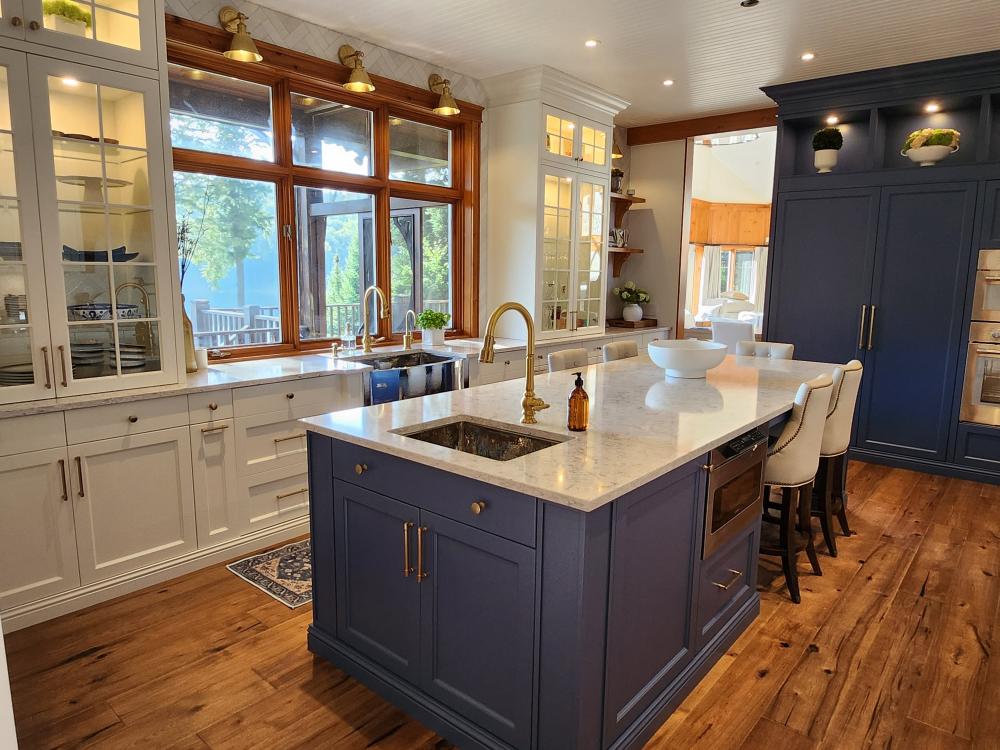
Marble countertops add a touch of luxury and natural beauty to the kitchen effortlessly. Despite having a soft surface, marble offers durability and reliable performance. However, the material requires precise and accurate installation to perform better. Wrong marble installation will fail the material, even though you had chosen the premium marble variant. While professional installation is recommended, homeowners can also go for DIY countertop installation. Continue reading the following to learn about how to install a marble countertop.
Tool And Materials Required For Marble Countertop Installation
Collect these tools and materials before installing the natural stone countertops.
| Tools Required | Materials Required |
| Tape measure for precise measurements (25 ft or longer) | Marble slab (pre-cut and fabricated) |
| Digital level or spirit level | Construction adhesive (silicone or polyurethane) |
| Straight edge ruler | Color-matched epoxy seam adhesive |
| Carpenter’s square | Penetrating stone sealer |
| Grease pencil/marker | Plastic or wooden shims |
| Suction cup lifters (manual) | Painter’s masking tape |
| Moving straps | Plywood support boards (if reinforcement needed) |
| Rubber mallet | Wood support strips |
| Bar clamps or seam clamps | Cabinet screws and anchors |
| Caulking gun | Acetone (for adhesive cleanup) |
| Mixing sticks and epoxy board | Microfiber cloths |
| Plastic scrapers | Paper towels/cleaning rags |
| Diamond blade angle grinder (for minor trimming only) | Silicone caulk (backsplash and edges) |
| Diamond polishing pads (optional) | Edge protection tape |
| Drill with masonry/stone bit (for faucet holes if needed) | Protective cardboard sheets |
| Vacuum or shop vac | Disposable gloves |
| Safety goggles | Dust mask or respirator |
| Cut-resistant gloves | Drop cloths or floor protection |
Step-By-Step Guide For Marble Countertop Installation
Many homeowners believe that installers simply place a slab on cabinets and that’s it. But the installation follows a technical workflow.
Step 1: Templating and Measurement
The countertop installation process starts with a template. It maps every dimension of the bathroom or kitchen. This template plays an important role in:
- Cabinet alignment
- Appliance openings
- Sink placement
- Overhang length
- Wall irregularities
Laser templating is now considered the industry standard because it eliminates human measurement errors. Accurate templating prevents gaps, stress points, and uneven seams.
Step 2: Cabinet Structure Preparation
Marble is a heavy stone. It weighs around 20-25 pounds per square foot. Cabinetry must support the weight of the slab evenly. Installers should inspect:
- Levelness across all cabinets
- Fastening strength to walls
- Strengthened corner joints
- Continuous support under seams
Even a small mishandling or tilt can cause cracks over time. This stage will help your investment before the stone arrives.
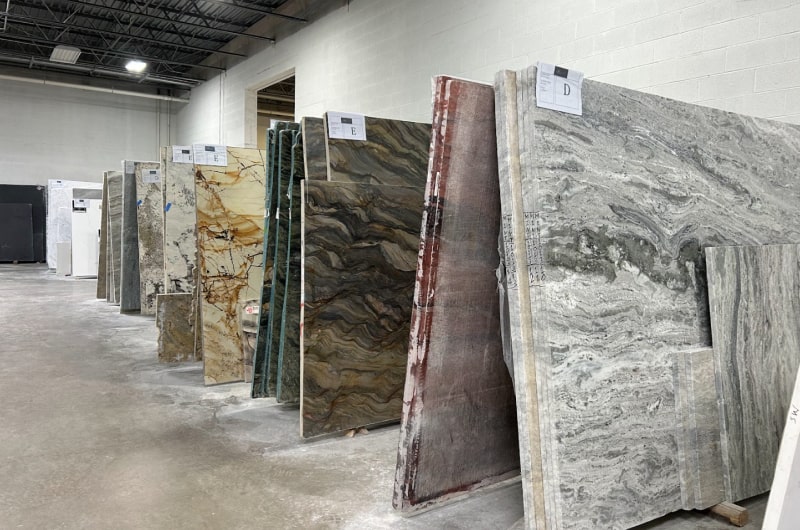
Step 3: Slab Fabrication
Fabrication is completed by professional fabricators at their workshop. Technicians will cut and shape the slabs using CNC equipment to match the template. Fabrication includes:
- Cutout for cooktops and a sink
- Shaping the seamless edges
- Surface polishing
- Pre-matching seam patterns
A quality fabrication will help you get the perfect countertop fit during installation.
Step 4: Dry Fitting the Slabs
This step is crucial if your goal is to determine whether the slab is securely placed or not.
Place the slab without adhesive first on the countertop. You will get to know about:
- Proper alignment
- Seam positioning
- Level distribution
- Fit against walls
Dry-fitting shouldn’t be underestimated, as it can help you make adjustments before permanent bonding.
Step 5: Setting the Countertops
Once you are satisfied with the countertop placements, apply construction adhesive around the counters and under the slabs.
- Carefully lower the slab to the place using lifting equipment.
- Add shims to maintain level alignment.
Correct placement prevents internal stress inside the stone.
Step 6: Seam Bonding and Finishing
Now fill the seams with color-matched epoxy. Once filled:
- Clamp slabs tightly
- Polish seam edges
- Smooth surface transitions
Well-installed seams will be almost invisible.
Step 7: Sealing the Marble Surface
Marble has a naturally porous surface. This is why sealing the countertop after installation is crucial. Penetrating sealers protect against:
- Oil stains
- Water absorption
- Surface discoloration
Annual resealing helps maintain long-term protection.
What Are the Common Marble Countertop Installation Mistakes?
Professionals rarely make any mistakes while installing marble countertops, but DIY installation can result in some serious mistakes. Consider them before risking you expansive marble slabs.
Installing on Uneven Cabinets
Uneven cabinets under the new countertop create unnecessary pressure points that cause cracks in the slab.
Poor Seam Placement
Leaving seams near kitchen or bathroom sinks is another common marble countertop installation mistake. The water may seep underneath and weaken structural integrity.
Skipping Sealing
Don’t skip the sealing after final installation. Unsealed marble will absorb liquids faster, which will result in stains.
Choosing Thin Slabs Without Support
Thin slabs are not recommended to be used as kitchen and bathroom countertops. However, you will need to add additional reinforcement to prevent flexing.
Rushing the Installation Process
Do not rush the installation and sealing process. Even the high-quality sealer will not perform well when not cured properly.
Marble vs Other Countertop Materials: Installation Differences
Understanding the installation comparison with other countertops will help homeowners to assess different options.
Marble vs Quartz Installation
- Marble requires sealing, but quartz does not.
- Marble requires reinforced structural support.
- Quartz installation is faster.
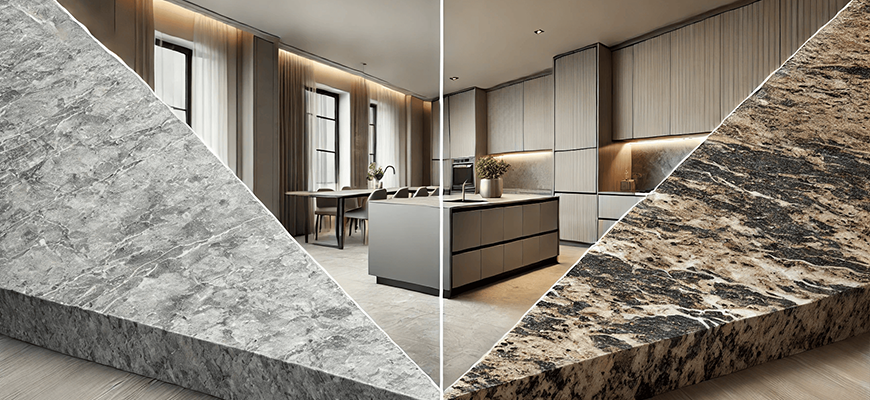
Marble vs Granite
- Granite is more durable with better scratch resistance than marble.
- Marble needs more careful handling than granite due to its soft surface.
- Both are heavy materials and require professional installation.
Marble vs Porcelain
- Porcelain slabs weigh less than marble.
- Marble needs stronger cabinet support.
- Marble offers natural veining compared to porcelain.
Long-Term Maintenance After Marble Countertop Installation
After the marble countertop installation, maintenance is crucial. It protects both the appearance and structural performance of the material. Homeowners should:
- Use a pH-neutral stone cleaner to clean the surface.
- Avoid using abrasive and acidic substances for cleaning, as they can etch the surface
- Wipe spills immediately before they sit on the surface
- Use cutting boards to avoid leaving marks on countertops
- Reseal annually, depending on the usage
Regular maintenance will keep the countertop functional for decades.
Marble Countertop Installation FAQs
Let’s answer your questions about the installation of marble countertops.
How difficult is marble countertop installation?
Marble countertop installation requires precise hands and skills due to its soft and delicate surface. Improper handling can cause cracks or permanent damage. It requires professional equipment, precise leveling, seam bonding, and sealing.
How long do marble countertops last after installation?
30-50 years when annually sealed and installed properly.
Can homeowners install marble countertops themselves?
Yes, if the project is small. Professional installation is recommended as they have specialized lifting tools, fabrication equipment, and seam expertise.
Does marble need sealing immediately after installation?
Yes. Sealing protects the stone from stains, moisture absorption, and discoloration.
What causes marble countertops to crack after installation?
Uneven cabinets, poor seam placement, insufficient support, and improper handling during installation.
Bottom Line
Marble countertop installation requires thorough planning, accurate measurements, precise fabrication, and professional expertise. Homeowners who know about structural preparation, seam placements, sealing requirements, and maintenance expectations can help them make an informed decision. When installed correctly, marble delivers a long-lasting beauty, durability, and natural appeal. The value is not just related to the stone itself, but also to the quality of the installation process that supports it.
For homeowners looking for a premium natural surface, marble remains the top choice. It can be a long-term investment when installed with proper care and expertise.