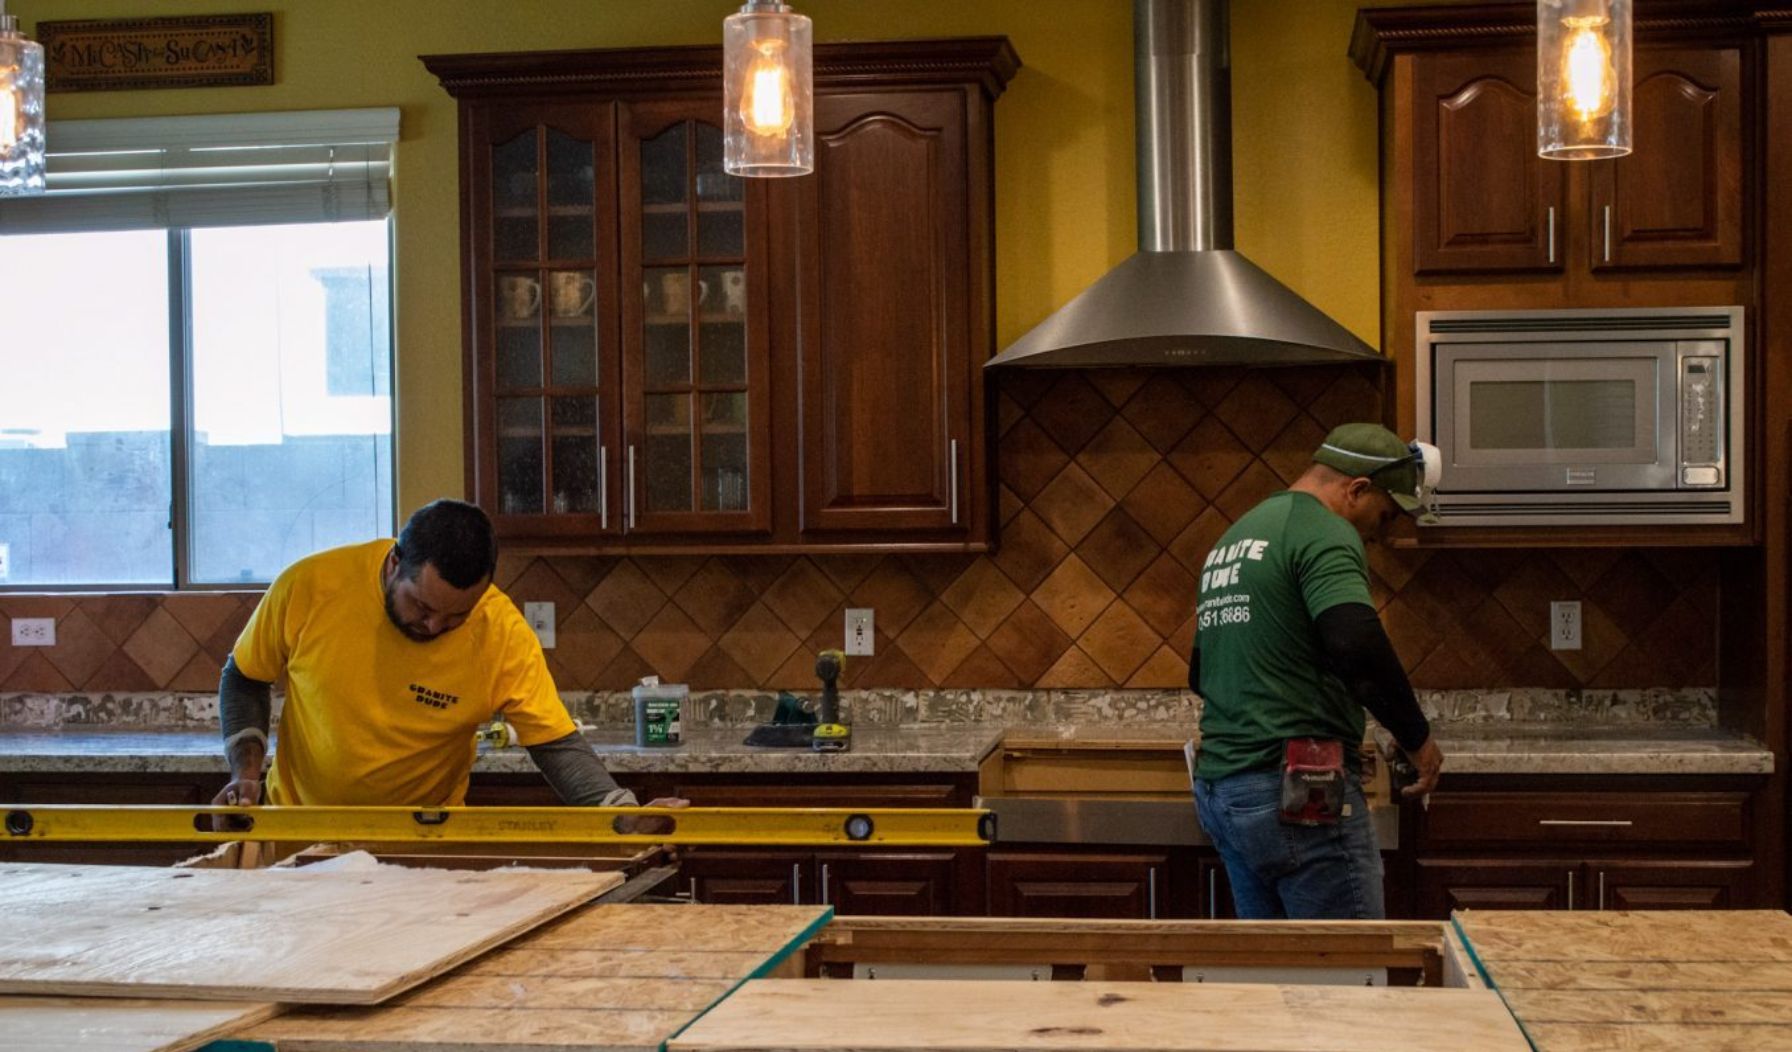
Countertop installation can be a rewarding experience for homeowners who want to give their kitchen a new look. You can create a desired look the way you want it. However, installing the new countertops in spaces like the kitchen requires professional experience. This is because of the level of usage, especially in busy households. The kitchen countertop has to face extensive work pressure, cutting, spills, and the like, which require a stable working surface. If you are a DIY enthusiast who has little knowledge of tools and materials, then a DIY Countertop Installation would be a great idea. Here is the installation guide for the countertops for the perfect results.
Tools & Materials Needed for DIY Countertop Installation
Here is the list of tools and materials required for the countertop installation. You can also ask a professional installer
Tools Required:
- Tape measure & pencil
- Level
- Circular saw/jigsaw
- Screwdriver/drill
- Clamps
- Silicone adhesive/caulk
- Sandpaper/file
Royal Marble Recommendation: For stone countertops, renting a wet saw ensures precision, safe cuts, and smooth edges. You can contact a stone fabricator service for a better idea.
Materials Needed:
- Chosen countertop slab
- Sealer (for stone or wood)
- Epoxy or caulk for seams
- Shims for leveling

Step-by-Step Guide For Countertop Installation:
Step 1 of how to install a countertop is preparing the surface. You should:
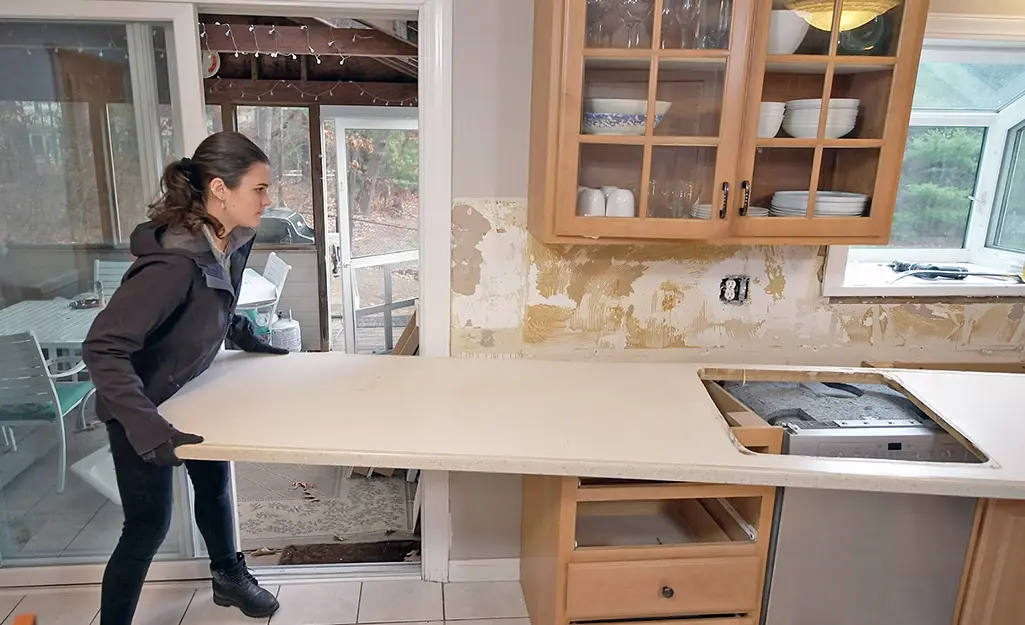
1- Preparing Your Space
First, you will need to prepare your space, as the process will be messy despite your cleanest effort.
- Remove existing countertops and clean the cabinet surface.
- Check the cabinet level and use shims when required.
- Make sure that all plumbing and electrical lines are accessible.
It is possible to forget about the plumbing connections and pipes. Take photographs of them so the reconnection would be faster and prevent mistakes.
2- Measuring & Cutting Countertops
Step 2 of how to install a countertop is accurately measuring and cutting the countertop slab. Your countertop installation is incomplete without the precise measurements. Accurate measurement is crucial, even twice around fixtures and utilities. You can only cut the stone once, so take your time. Mark lines for overhangs, sinks, and backsplashes.
You can also contact professional stone fabrications from Royal Marble. The expert with the right tools can offer you precise measurements and cutting for the best look.
Material Cutting Instructions:
- Laminate requires a fine-tooth blade to prevent chipping.
- Granite/Quartz use precut slabs, or you can hire a professional cutter.
- Butcher block requires sand edges before installation.
For better and smoother edges, clamp a straight edge to guide the saw and prevent uneven cuts.
3- Dry Fitting and Adjustments
Step 3 of how to install a countertop is dry-fitting the slab on the base. Before installing the countertop, a dry fitting will help you adjust effectively.
- Place the countertop without adhesive first.
- Test fit around sinks, cooktops, and edges.
- Trim or sand minor adjustments.
Take your time with the precise fit to prevent permanent mistakes when the adhesive is applied.
4- Sealing and Finishing
Step 4 of how to install a countertop is sealing and finishing the countertop slab. Apart from the porcelain countertops, most countertops installed require sealing. This helps in securing the surface from moisture absorption, staining, and scratches.
- For stone countertops, apply manufacturer-recommended sealant.
- Apply food-safe oil or sealant for wood countertops after sanding.
- Fill seams with matching epoxy or caulk.
Let the sealants and adhesives cure fully before use to ensure durability.
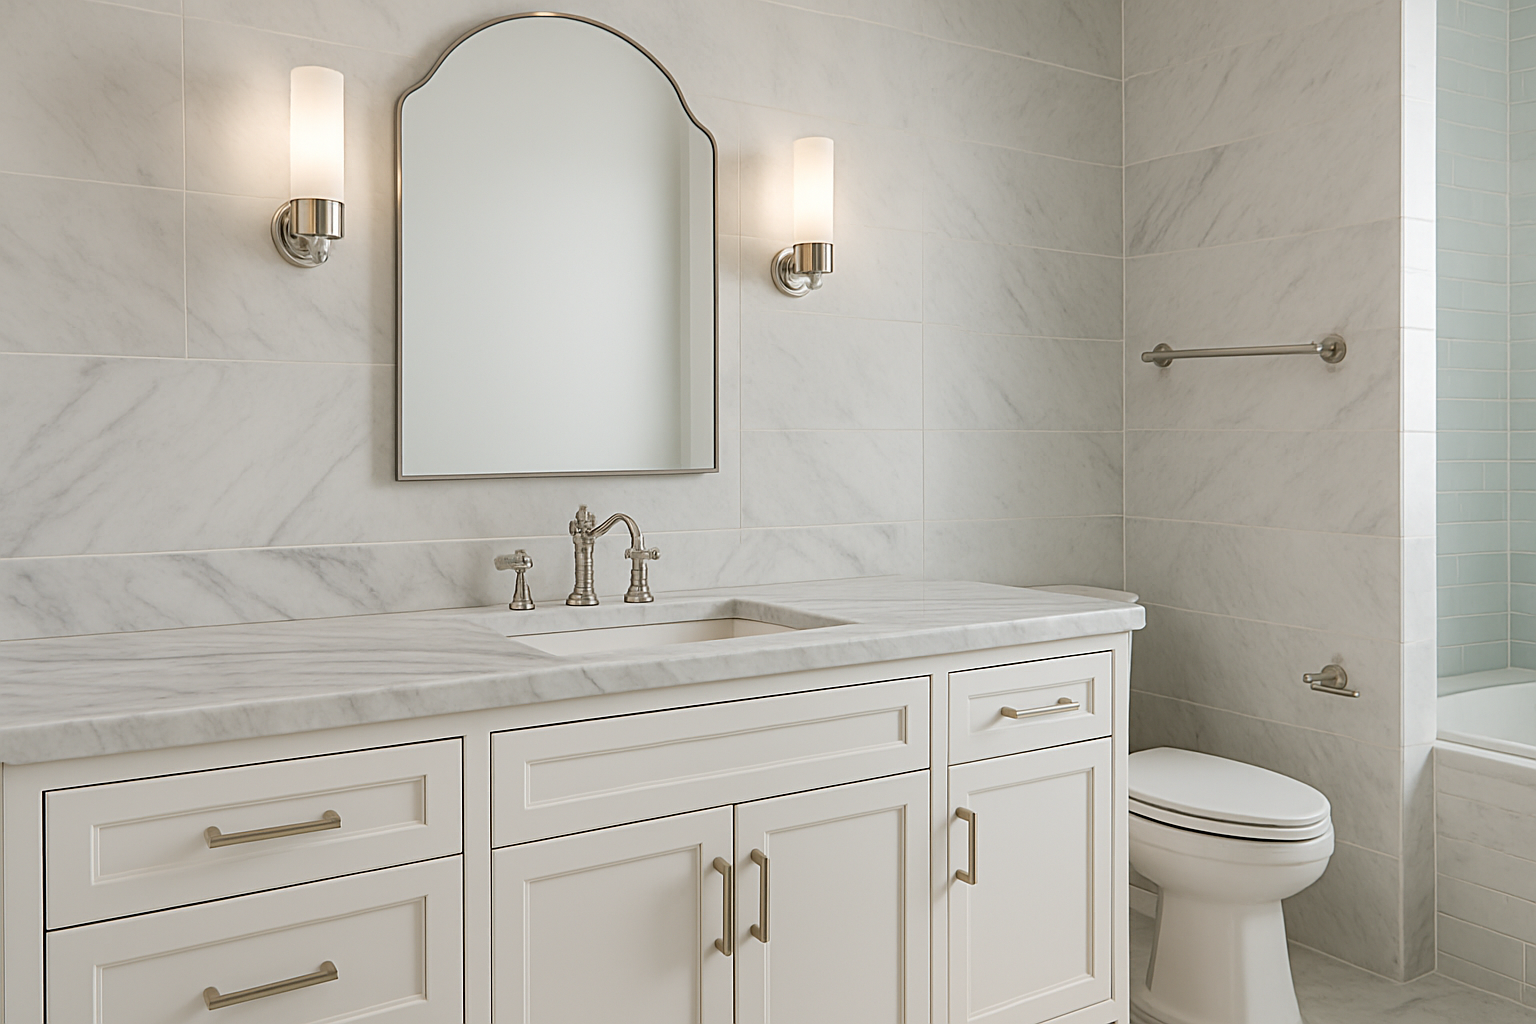
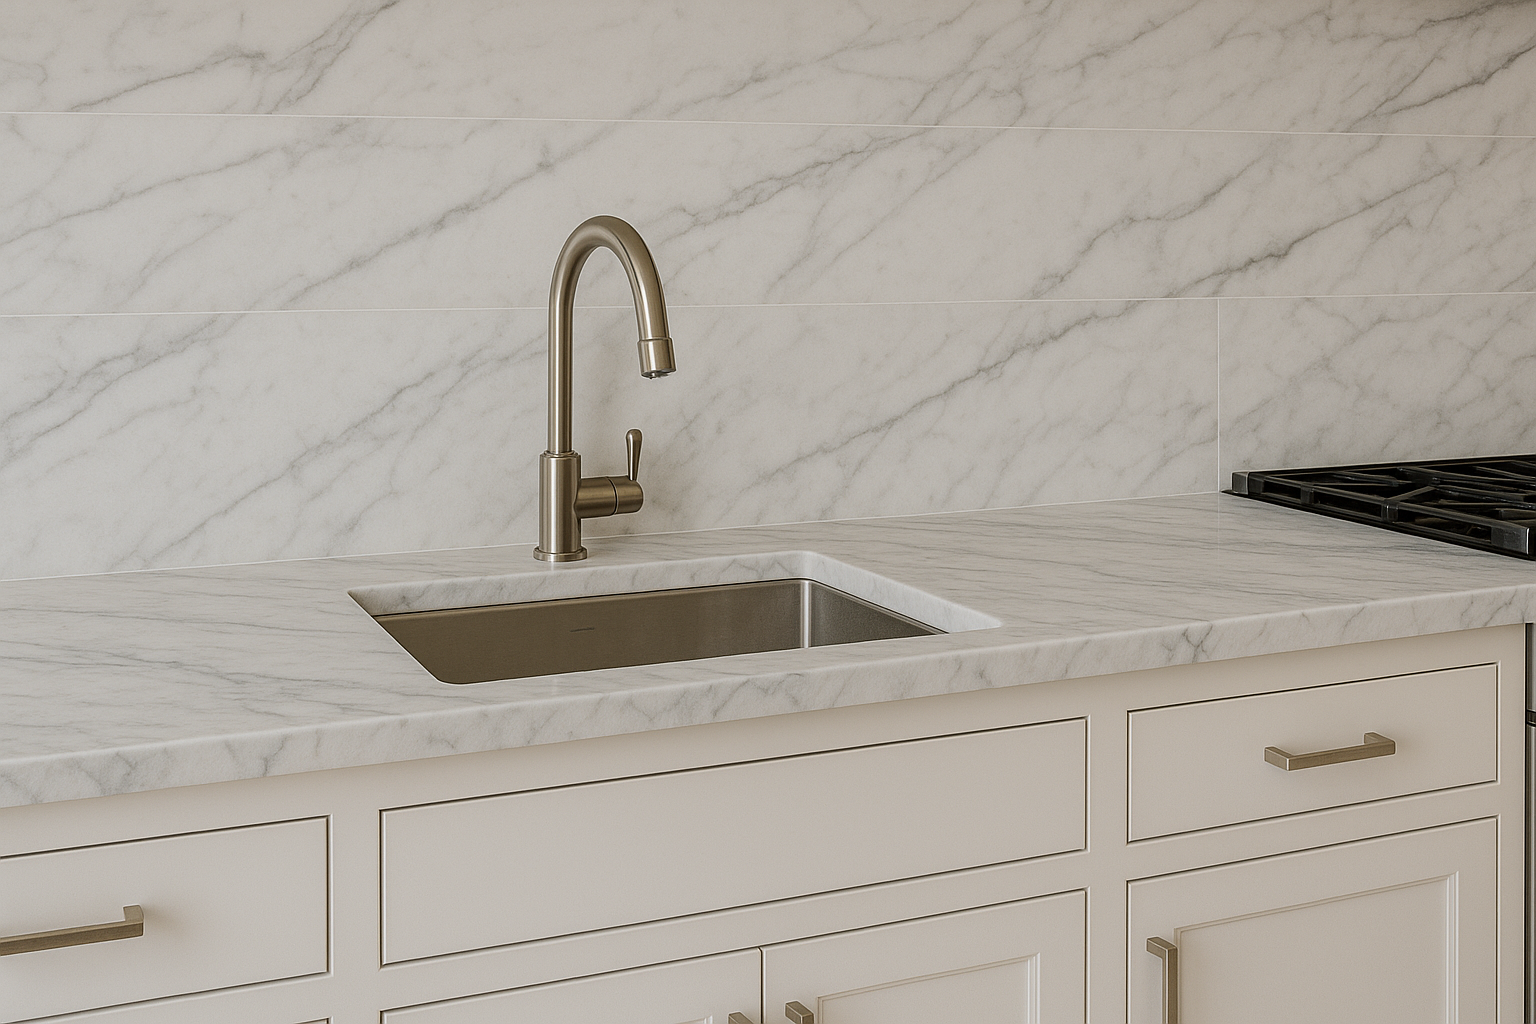
5. Installing Sink, Faucet & Accessories
Step 5 of how to install a countertop is fitting the fixture. Once the sealant is cured, it is time to install the sink, faucet, and accessories.
- Reconnect plumbing and keep an eye out for leaks.
- Install backsplash or trim as needed.
- Seal gaps between the countertop and backsplash to prevent water damage.
Countertop Maintenance Tips
Now that your countertop has been installed, you should understand how to maintain the surface. Your countertop installation will be more rewarding when you find your countertop clean and lasting.
- Clean countertops with mild soap.
- Avoid abrasive chemicals on stone or wood.
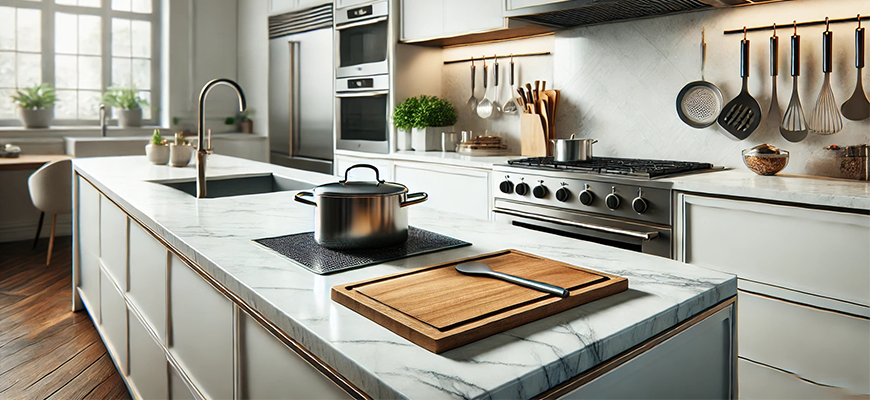
- Use cutting boards and trivets to prevent scratches or burns.
- Reseal natural stone countertops periodically.
Proper maintenance extends countertop life and preserves appearance.
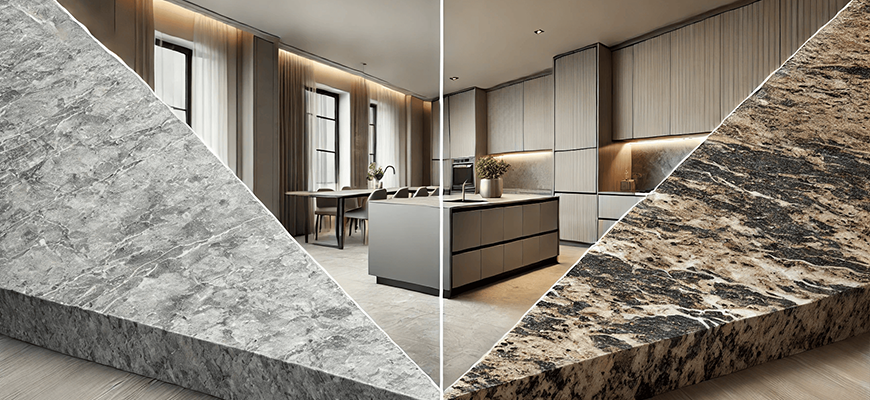
Choosing the Right Countertop Material
When installing a countertop, the perfect material matters. The look depends on style, durability, and maintenance needs. Here’s a quick comparison of different materials.
| Material | Benefits | Drawbacks | DIY-Friendliness |
| Granite | Durable, heat-resistant, luxurious | Heavy, expensive | Moderate (use precut slabs) |
| Quartz | Non-porous, low-maintenance | Heavy, professional cutting preferred | Moderate |
| Marble | Elegant, unique veining | Scratches & stains easily | Low |
| Laminate | Affordable, easy to cut | Less durable | High |
| Butcher Block | Warm, natural, and can be sanded | Needs oiling | High |
| Solid Surface | Seamless, repairable | Less heat-resistant | High |
Granite and quartz slabs are heavy. This is why you should consider that cabinets are reinforced and get help lifting to avoid cracks or injury.
Countertop Installation FAQs
Let’s answer your questions about Countertop Installation.
Can I install granite myself?
Yes, but use precut slabs and get help for heavy lifting. Professional cutting is recommended.
How long does installation take?
1–2 days for laminate or butcher block; stone countertops may take longer due to fitting and curing.
What tools are essential for laminating?
Circular saw, clamps, level, and tape measure are typically enough.
Do I need plywood under a quartz countertop?
Yes. You may have to opt for a plywood substrate under a quartz countertop, depending on the thickness and specific installation requirements.
Bottom Line
Countertop installation, though, requires handwork and takes time, but it pays off when the results are satisfactory. The DIY installation is not hard to achieve with proper tools and planning. Do not act in a rush and take your time. Whether you choose granite, quartz, laminate, or wood, following these steps and professional tips ensures a safe, durable, and stylish result.
However, if you are working with a more delicate material like marble, then consider contacting professionals. Royal Marble and Granite NJ is offering consultation on countertop material selection and installation. This will ensure you a perfect material and a guide even for a DIY installation.