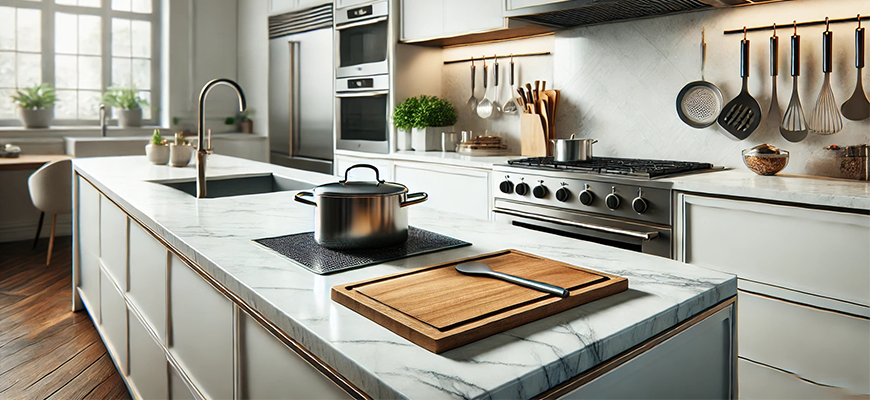
Granite countertops offer better durability, heat resistance, and a natural look that is well-suited for modern and traditional kitchens. But the installation process will determine how well that material performs over time. Poor installation results in cracks, uneven seams, and long-term maintenance problems. A proper granite countertop installation method will assure you of structural support, precise alignment, and clean finishing.
When it comes to granite installation, every step, from measurement to sealing, requires accuracy. Continue reading the following to learn about the full process in a clear, step-by-step format.

Tools and Materials Needed For Granite Countertop Installation
Here is the list of tools and materials required to install the granite countertops.
Tools
- Circular saw
- Wet grinder wheel
- Caulking gun
- Measuring tape
- Safety mask
- Safety goggles
- Screws
Materials
- 0.75-inch plywood
- Cardboard or kraft paper
- Caulk adhesive
- Whiteout pen
- Waterproofing membrane
Step-by-Step Granite Countertop Installation Guide
Here is our simple step-by-step guide to installing a granite countertop with the most accurate results.
Site Inspection and Measurement
Step 1 of granite countertop installation is inspecting the site and measuring, because every successful installation starts with accurate measurements. Installers visit your home for:
- Measuring the cabinet dimensions
- Checking the wall alignment and angles
- To identify obstacles like sinks, cooktops, or backsplashes
Granite is a rigid and hard natural stone. It does not bend or adjust very easily. A small measurement error can cause gaps or create overhangs. For accurately installing granite countertops, professionals often use digital or laser templating tools. Because walls are not always straight, the adjustment should be taken into account for any slight variations to ensure a tight fit.
Cabinet Preparation and Structural Support
Step 2 of Granite Countertop Installation is preparing the cabinet for structural support. Granite is a heavier stone that weighs around 18-25 pounds per square foot. Cabinets should be able to carry this load. Professional installers usually check:
- Level alignment throughout all cabinets
- Structural strength of base units
- Strengthening the weak areas
You can expect during your granite installation some prominent adjustments, like cabinet height, by adding plywood to the sub-tops. They can also install brackets to support overhangs. Uneven bases can cause stress points for granite counters that lead to cracks.
Templating Process
Step 3 of Granite Countertop Installation is creating an exact template. It is a detailed blueprint before installing new countertops. These methods include:
- Physical templates using wood or plastic strips
- Digital templates using laser scanners
Templates are the perfect way to understand the cutout shape for sinks and cooktops, faucet hole placement, edge profile, and overhangs. This step will assure you that the fabricated slab is the perfect match for your countertop design.
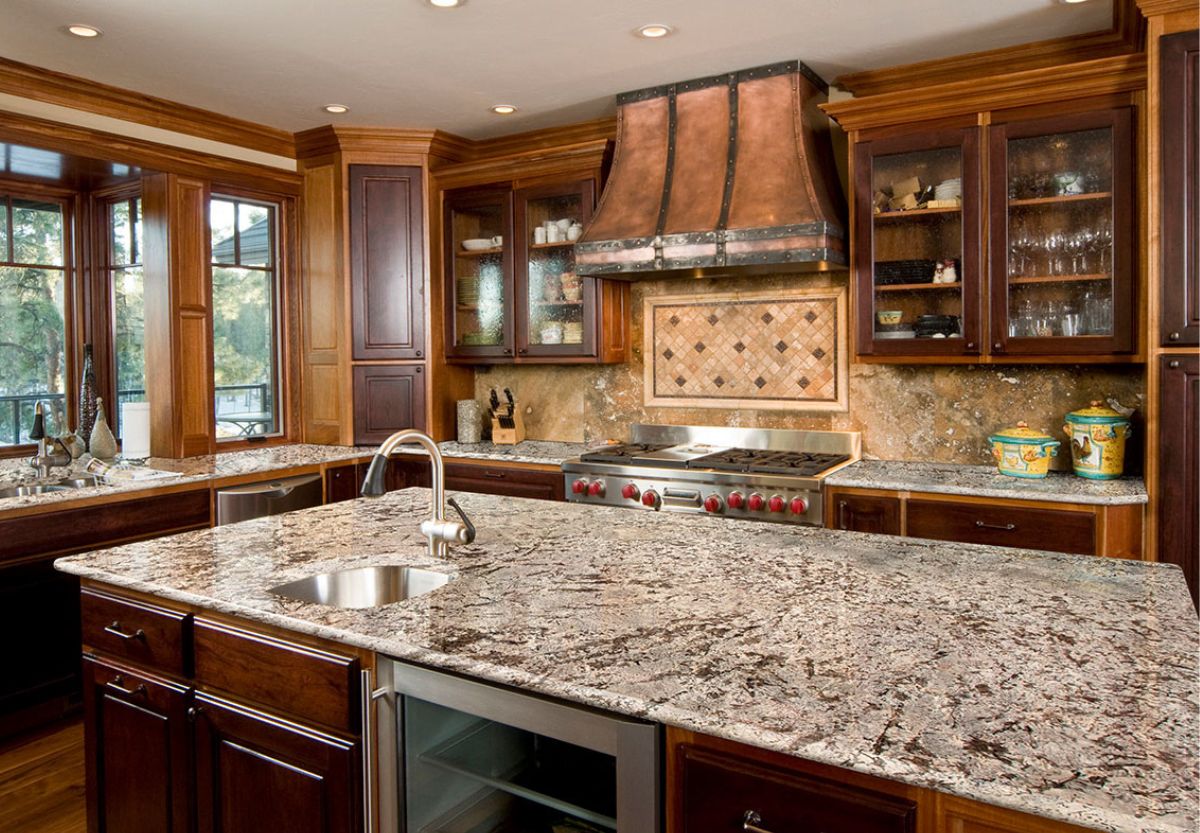
Slab Selection and Layout Planning
Step 4 of Granite Countertop Installation is selecting the slab and planning the layout. Not every granite performs equally, so choosing the right granite slab is crucial for your kitchen and bathroom.
Homeowners should choose a granite slab that suits their existing layout and style before the fabrication process. Factors to consider before selecting a granite slab for the kitchen or bathroom include:
- Consistent Colors
- Veining patterns
- Thickness is usually around 2 cm or 3 cm
Installers will plan the cutting of the slab once they have chosen it. The best way to determine this is by aligning veins in all sections, minimising visible seams, and strategically positioning focal patterns.
At Royale Marble and Granite, slab layout planning often includes previewing how the final countertop will look after cutting.
Fabrication Process
Step 5 of Granite Countertop Installation is cutting and shaping the granite slab through the fabrication process. Fabrication takes place in a controlled workshop. A fabricator uses CNC tools and machines for edge shaping (bullnose, bevel, ogee), sink and appliance cutouts. Polishing is done after cutting:
- Edges are treated with multiple polishing cycles.
- This gives the surface a smooth and reflective finish.
Fabrication is another distinct process that demands accuracy. It determines the process speed and final cut.
Dry Fitting and Pre-Installation Check
Step 6 of Granite Countertop Installation is dry-fitting the slab before installation. Before final installation, installers perform a dry fit. They place the slab on the cabinets without adhesive and check the alignment with seam positioning. The wall irregularities are also adjusted.
If needed, they trim edges or adjust placements on-site. This step prevents last-minute shocks.
Final Installation and Securing the Slabs
Step 7 of Granite Countertop Installation is installing and securing the slab. Installers use construction adhesive or silicone to secure the granite slab on the base counter. They can also use mechanical fasteners where required.
- Carefully lowering slabs into place.
- Aligning the seams tightly
- Ensuring the level positioning across all sections
To make the seams less visible, the color-matched epoxy is used to fill the gaps, and excess material is cleaned immediately. This will result in a seamless, stable countertop surface.
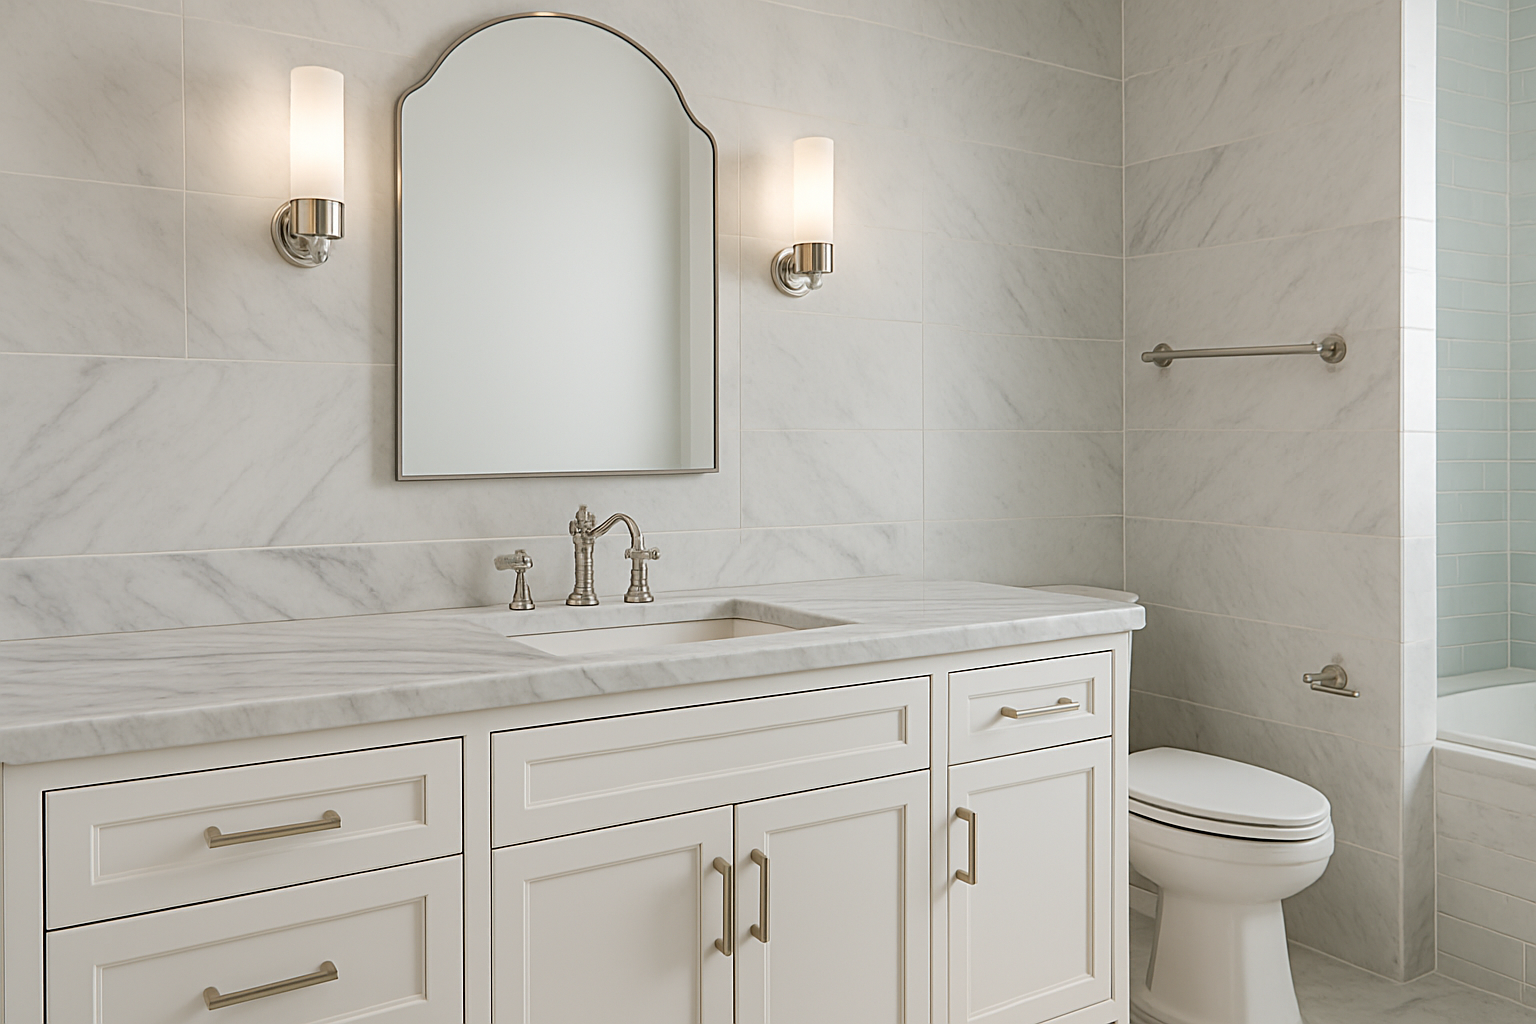
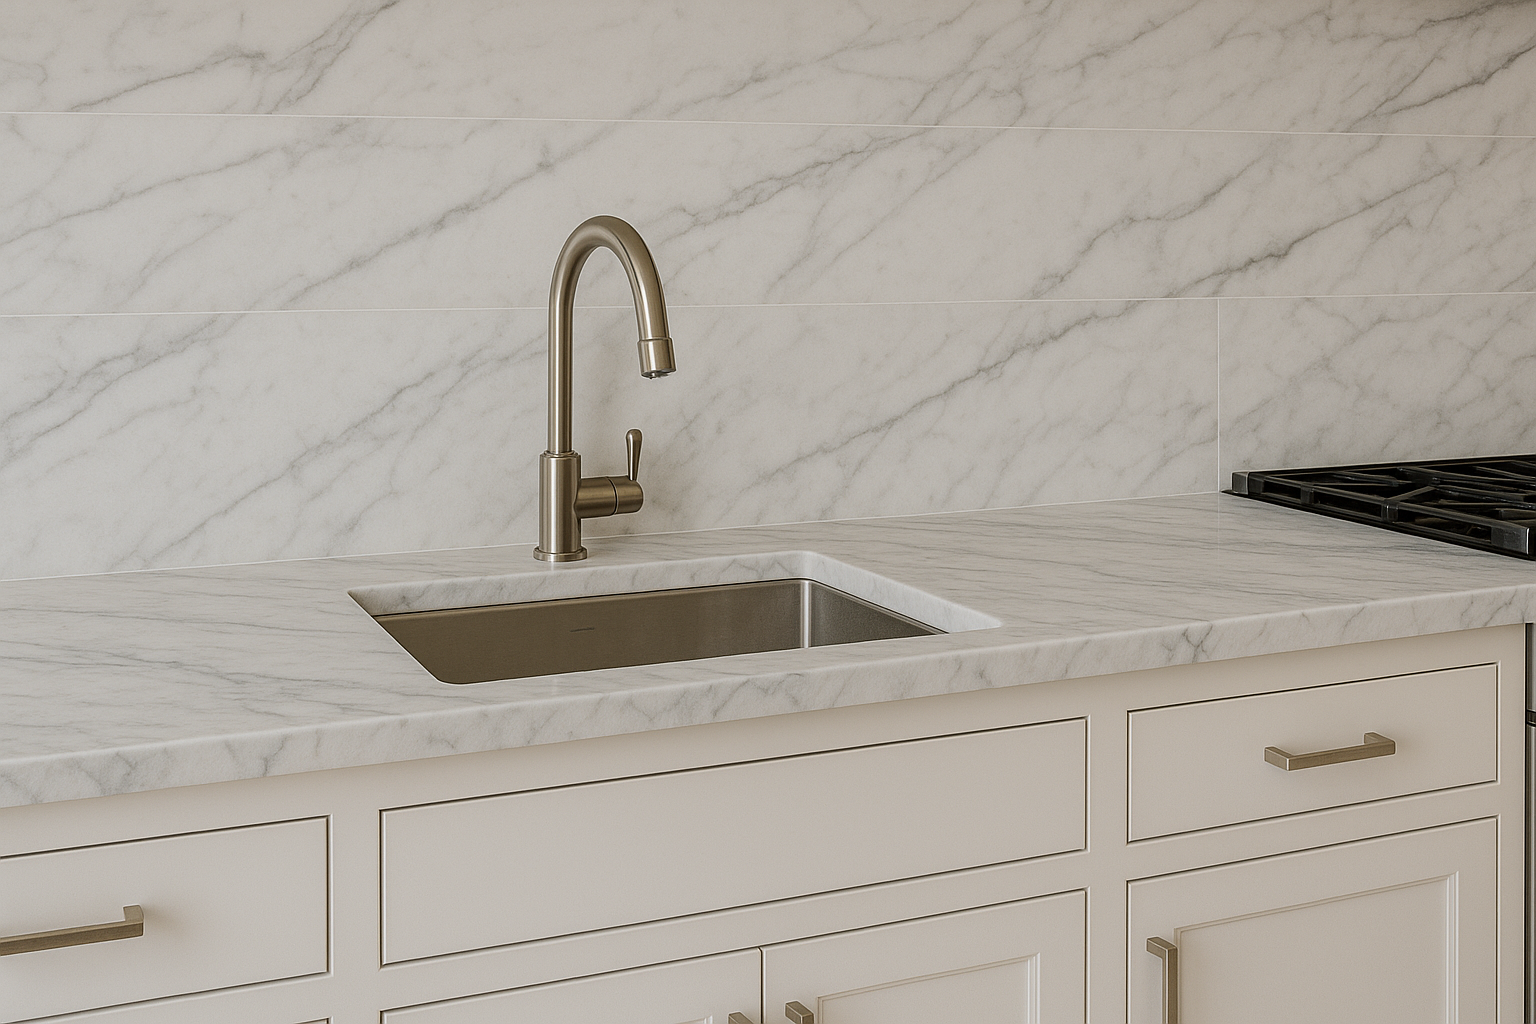
Sink and Fixture Installation
Step 8 of Granite Countertop Installation is installing fixtures and the sink. This step comes after the countertop is installed perfectly. Once the slab is placed, installers will mount sinks and fixtures. Common methods are:
- Undermount sinks (most popular)
- Top-mount sinks (less common with granite)
They will secure the sinks with brackets and adhesive and seal the edges to prevent water penetration. They may drill faucet holes if not pre-cut. This step typically involves proper undermount sink installation, especially since it is the most commonly used method with granite countertops, ensuring accurate positioning and long-term durability.
Sealing the Granite Surface
Step 9 of Granite Countertop Installation is sealing the surface. It secures the granite countertops from scratches and moisture damage, and adds longevity. Installers apply:
- Penetrating sealers
- Even coats across the surface
Sealing is the crucial part of granite countertop installation as it reduces stain absorption, improves longevity, and retains surface beauty longer. Most modern sealers last 1–3 years, depending on usage.

Maintenance After Installation
Once you have completed the granite countertop installation, you should opt for protecting your investment by doing the following.
- Clean with pH-neutral cleaners
- Avoid harsh chemicals
- Wipe spills quickly
- Reseal every 1–2 years
If you’re wondering how to clean black granite countertops, the same basic care applies, which maintains the surface’s shine and prevents dullness over time.
Granite can perform efficiently under direct heat exposure and daily heavy use. However, regular maintenance is essential to retain its appearance.
Granite Countertop Installation FAQs
Let’s answer your questions about Granite Countertops and installation.
How long does granite countertop installation take?
One day after fabrication. However, the full process, including templating and fabrication, can typically take around 1-2 weeks.
Do cabinets need reinforcement for granite countertops?
Yes. Granite is a heavy material, so the cabinets should be structurally sound enough to support the slab’s weight. Installers often add plywood or brackets for support.
Can granite countertops crack during installation?
Yes. When handled poorly or installed on an uneven base, it can crack easily.
How visible are seams in granite countertops?
Very little when installed correctly. Professionals use color-matched epoxy to reduce seam visibility.
Do granite countertops need sealing after installation?
Yes. Sealing protects against stains and moisture, so sealing after installation is recommended.
Can you install granite over existing countertops?
No. The old countertops should be removed first for proper kitchen and bathroom countertops installation and support.
What thickness of granite is best?
3 cm granite offers better strength and does not require additional support. 2 cm granite may need reinforcement.

Bottom Line
Installation of granite countertops is a complex technical process that demands accuracy at each step. All factors contribute to the result, including measurement, fabrication, and sealing. If installed correctly, granite can last for decades with little maintenance. Homeowners can make more informed decisions when they understand the technicalities involved in granite installation.
Asking the right questions and planning realistically will help them avoid costly mistakes. This guide simplifies the process without ignoring the technical details. Be sure to contact a professional like Royal Marble and Granite for Granite Countertop Installation. You can get expert opinions by contacting professionals.