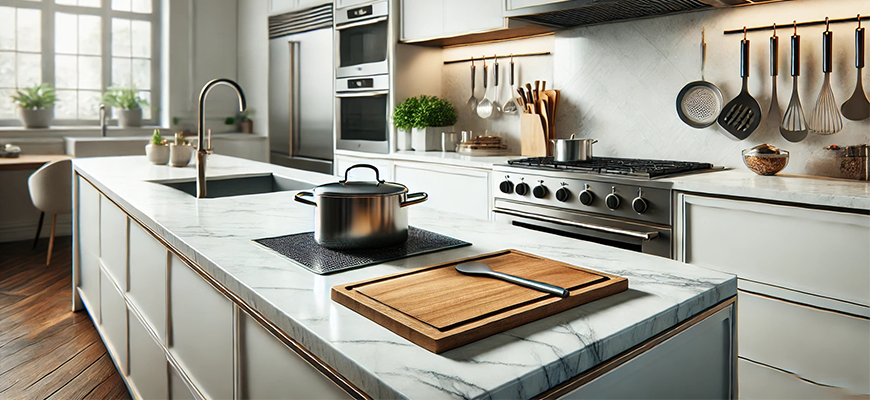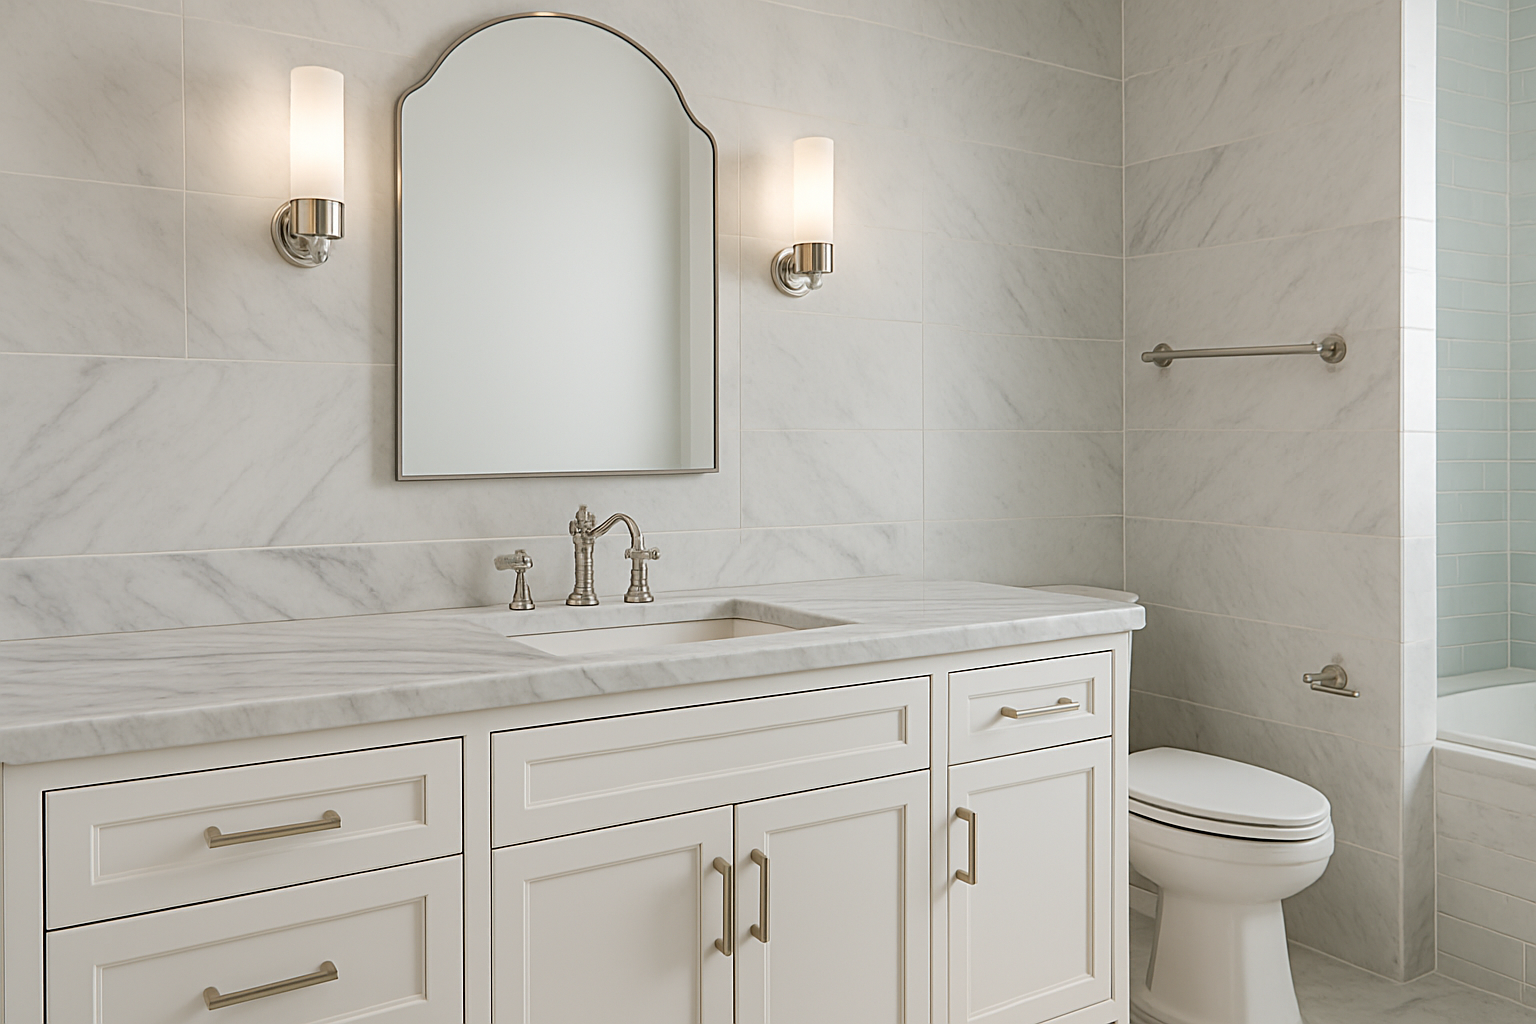
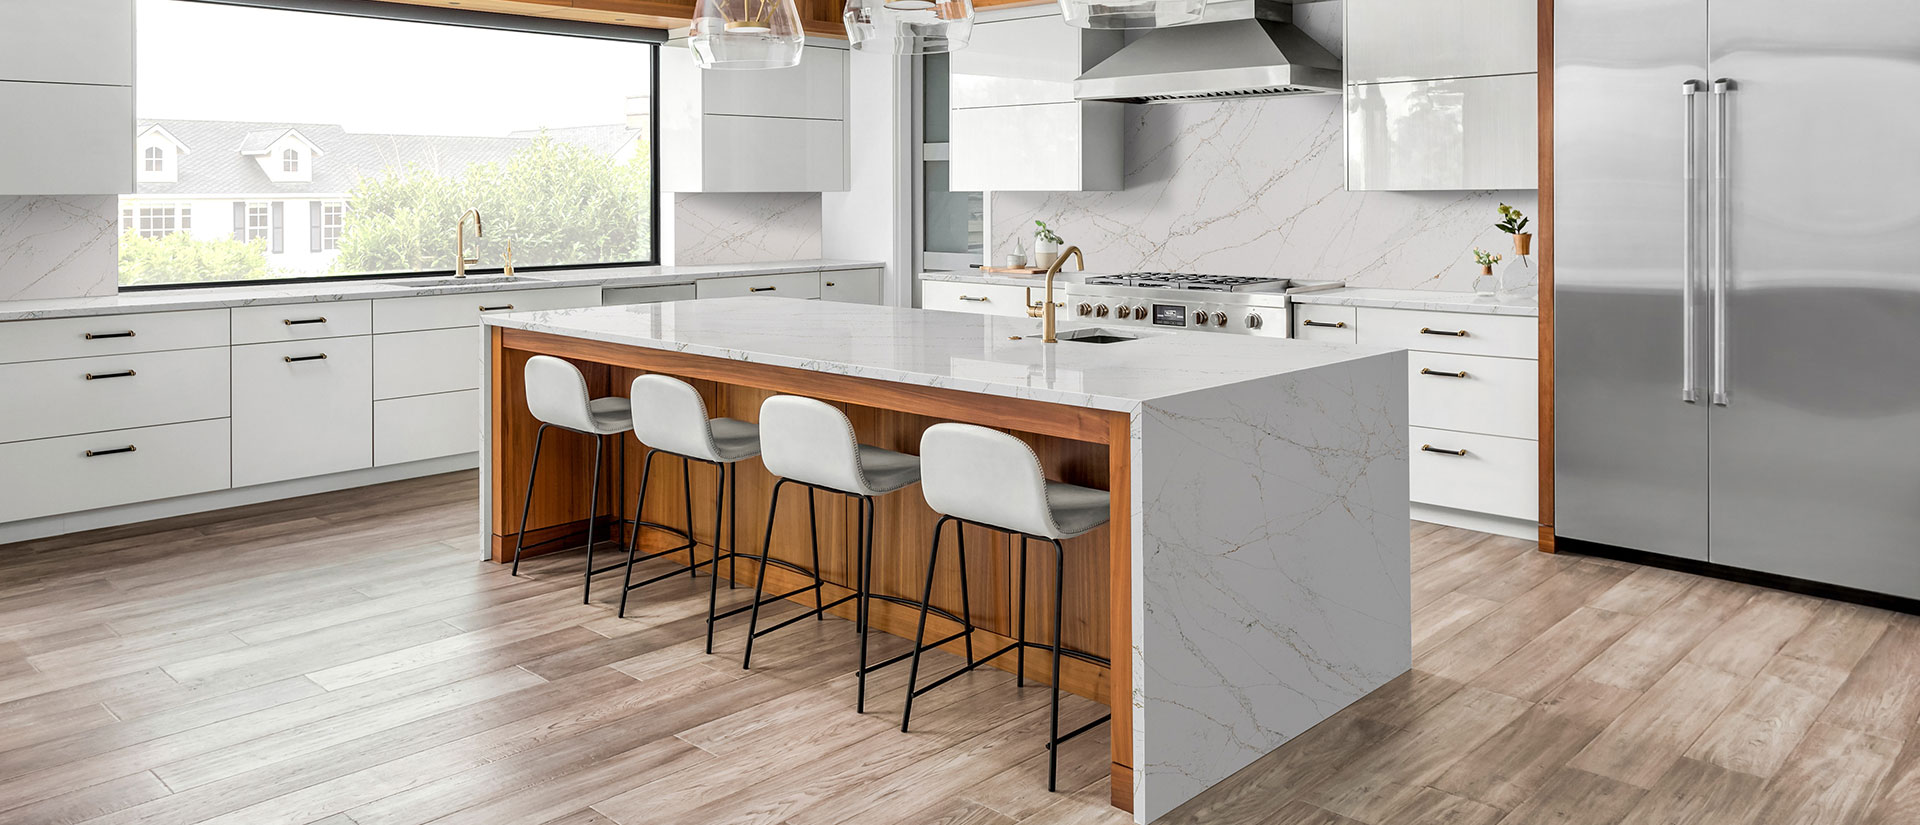
Quartz countertops are a popular choice for kitchen countertops due to their stunning beauty and durable surface. This high-end engineered stone is well-suited for both kitchen and bathroom environments. However, to get the most out of quartz countertops, proper installation of the countertop is essential.
Quartz countertop installation requires precision, accuracy, and planning due to its density and thickness.
Incorrect installation will result in cracks, uneven surfaces, and damaged cabinets. Continue reading the following to learn about the quartz countertop installation.
Tools and Materials You’ll Need
Having the right tools is crucial for a successful quartz countertop installation.
| Tools | Materials |
| Measuring tape & pencil | Silicone adhesive/construction adhesive |
| Circular saw with diamond blade | Support brackets |
| Drill with a diamond hole saw | Safety gear (gloves, goggles, dust mask) |
| Level & shims | |
| Clamps |
Having these tools on hand prevents interruptions and assure you safety during installation.
Step-by-Step Guide To Install Quartz Countertops
Here is a step-by-step guide for quartz countertop installation.
1. Preparing Your Space
Step 1 of installing a quartz countertop is preparing the space. Before you touch a quartz slab, prepare the installation space. This includes accurate measurements, leveling, and reinforcing cabinets.
Accurate measurements prevent costly mistakes. Measures include:
- Measure the length and width from wall to wall or from cabinet edge to edge to determine accurate kitchen counter dimensions.
- Overhangs for standard countertops are usually 1–1.5 inches.
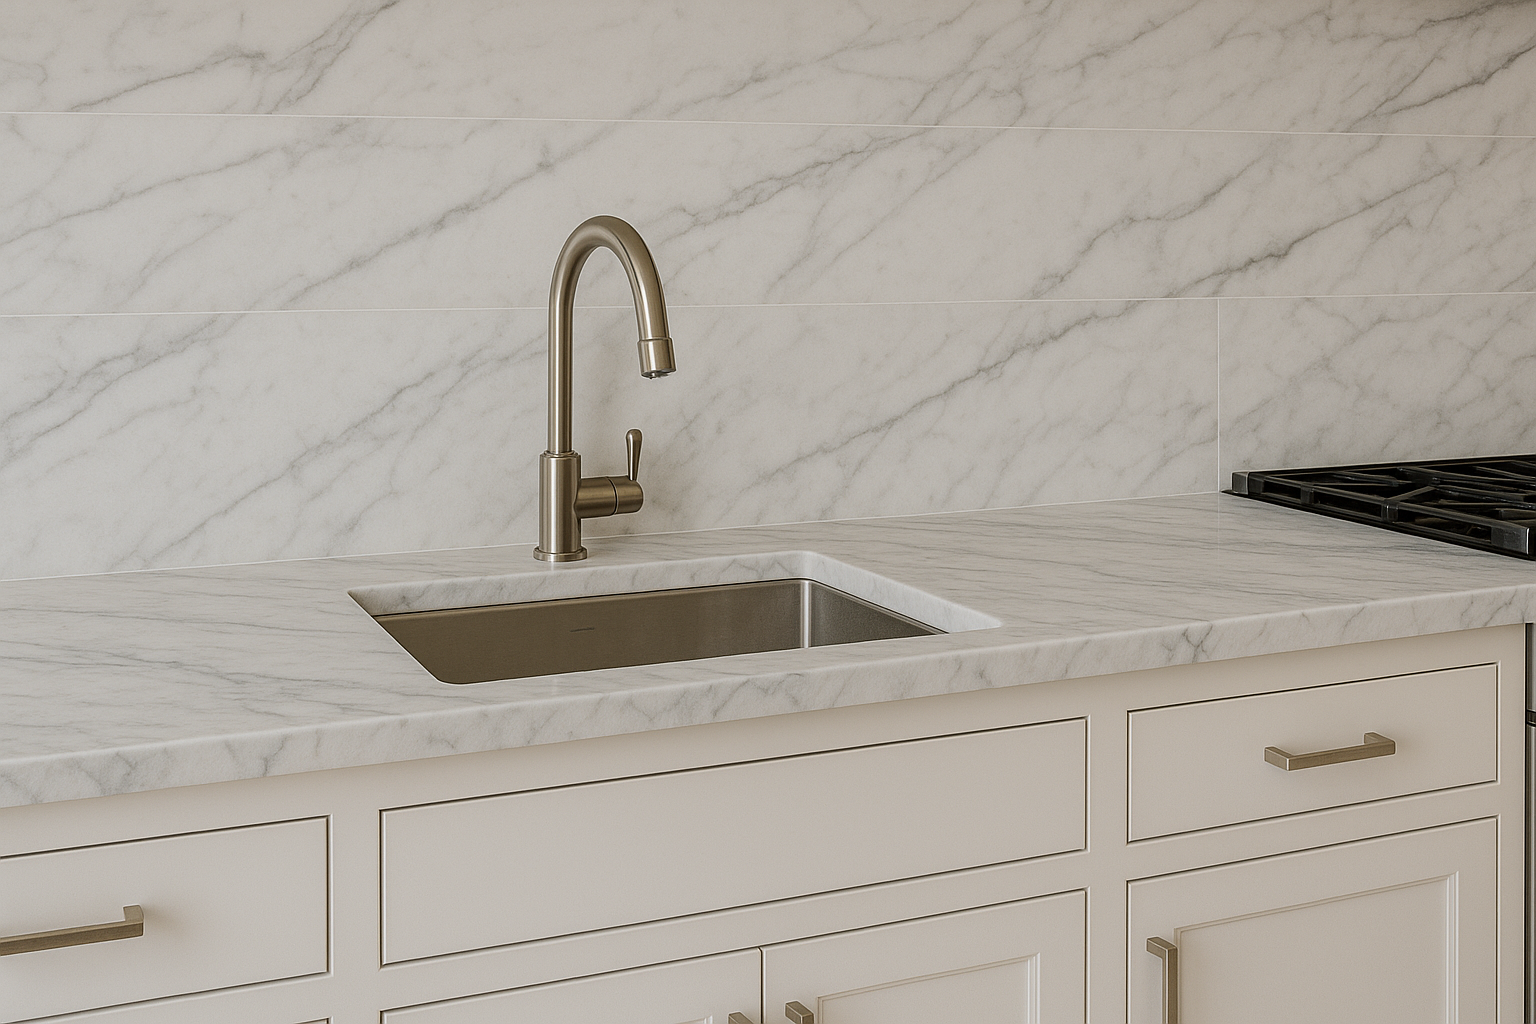
- Appliance cutouts matter, so measure sinks, faucets, cooktops, or built-in appliances.
If you’re planning a quartz waterfall countertop, remember to include the vertical side measurements, as the slab will extend down the sides of the cabinets. Cabinets’ durability is essential. Quartz is a heavy material. It is roughly 20-25 lbs per square foot.
- Make sure cabinets are level, secured, and reinforced.
- If cabinets are older and not strong, consider adding plywood or support brackets to prevent sagging over time.
2. Cutting Quartz Slabs
Step 2 of installing quartz countertops is cutting the slab according to the design and layout. Quartz is a durable and strong material, which is why precise cutting is critical. This prevents chipping or cracking. Start by:
- Measure and mark the lines where cuts need to be made, and always mark on the back side of the slab.
- Use proper sawing tools. A circular saw with a diamond blade or a wet saw is a perfect choice for cutting quartz.
- Make slow and steady cuts. Do not cut in a rush, as sudden force can chip edges.
- Make appropriate sink & appliance cutouts. Use a drill with a diamond hole saw for rounded corners.
This may feel overwhelming, but working with the professional fabricator can pre-cut slabs to your template to reduce onsite risks.
3. Dry Fitting the Countertop
Step 3 of installing a quartz countertop is dry-fitting the slab. This helps you assess the fit. Dry fit the countertop slab by:
- Place the quartz slabs on the cabinets.
- Make sure to check the alignment between multiple slabs, particularly seams.
- Use shims to adjust for leveling discrepancies.
- Ensure appliance and sink cutouts line up correctly.
Dry fitting allows you to check the fit perfectly and offer adjustments before permanent installation.
4. Installing the Quartz Countertop
Step 4 of installing the quartz countertop is securing the countertop on the cabinet. Once you are satisfied with the measurement of the slab, secure the countertop with adhesives.
- Apply adhesive under the surface or top of the counter by running a thin bead of silicone or construction adhesive.
- Carefully place quartz slabs on cabinets. Don’t do it alone, as this may either crack the slab or result in injury.
- Check the level by using a level and adjust with shims if necessary.
- You can also use the clamps to hold slabs in place until the adhesive sets. This usually takes 24 hours to cure.
Do not over-tighten the clamps as quartz can crack under excessive pressure.
5. Joining Multiple Slabs
If working with larger countertops, multiple slabs will be necessary. Properly join them to create a seamless appearance.
- Use a color-matched epoxy in the seam.
- Properly align the slabs by pressing them to each other.
- Immediately wipe the excess epoxy with a damp cloth.
- Let the epoxy cure fully before applying the weight or using the countertop.
How the seams will look will determine the countertop’s look. So take your time while aligning the slabs.
6. Finishing Touches
Finishing touches are essential after installation, as they ensure you have a beautiful and professional finish in the end.
- Seal the edges by applying the silicone caulk around backsplashes, sinks, and cutouts.
- Keep an eye on overhangs. Make sure the standard overhand of 1-1.5 inches is consistent around all edges.
- Let the adhesive cure for 24 hours before heavy use.
Tips & Safety Precautions When Installing Quartz Countertops
While a professional quartz countertop installation is less likely to make any mistakes, a DIY installation may commit mistakes. Take a look at this table for more information.
| Tip | Why It Matters |
| Lift slabs with at least two people | Prevents breakage and injury |
| Wear protective gear | Quartz dust is hazardous; gloves protect hands |
| Follow manufacturer guidelines | Some quartz brands have specific adhesive or support requirements |
| Avoid dragging slabs | Sliding can chip or crack edges |
| Level cabinets before installation | Prevents stress cracks in quartz over time |
Quartz installation requires care, patience, and precision. A little mistake can result in costly repairs, so don’t rush.
Quartz Countertops Installation (FAQs)
How heavy is a quartz countertop?
Quartz can weigh around 20-25 lbs per square foot. Proper support is crucial to prevent cabinet damage.
Do quartz countertops require sealing?
No. Quartz features a non-porous surface and natural resistance against stains, unlike granite or marble.
Can I install quartz myself?
Yes. If you have the right tools and skills, and at least one helper, but professional installation is recommended.
How do I care for quartz countertops after installation?
Do not use harsh chemicals, wipe spills immediately, and use a cutting board or trivets to prevent scratching the surface.
What is the standard countertop overhang?
Typically, 1–1.5 inches. Larger overhangs may require additional support brackets.

Bottom Line
Installing a quartz countertop requires precision, patience, and calm. Rushing towards installation results in a cracked or chipped surface or wrong measurements that cost you extra. This is why knowing how to install quartz countertops is crucial. Careful planning, accurate measurements, and precise cutting can help you get a professional-looking finish.
DIY countertop installation will give you a satisfying feeling when completed successfully. However, professional installation is recommended when you are not familiar with the tools or haven’t completed any project like this previously.
Follow this guide while installing quartz countertops, and if you are new to DIY, consult with professionals. Royal Marble offers professional assistance from design to installation. You can book your consultation for a better idea.