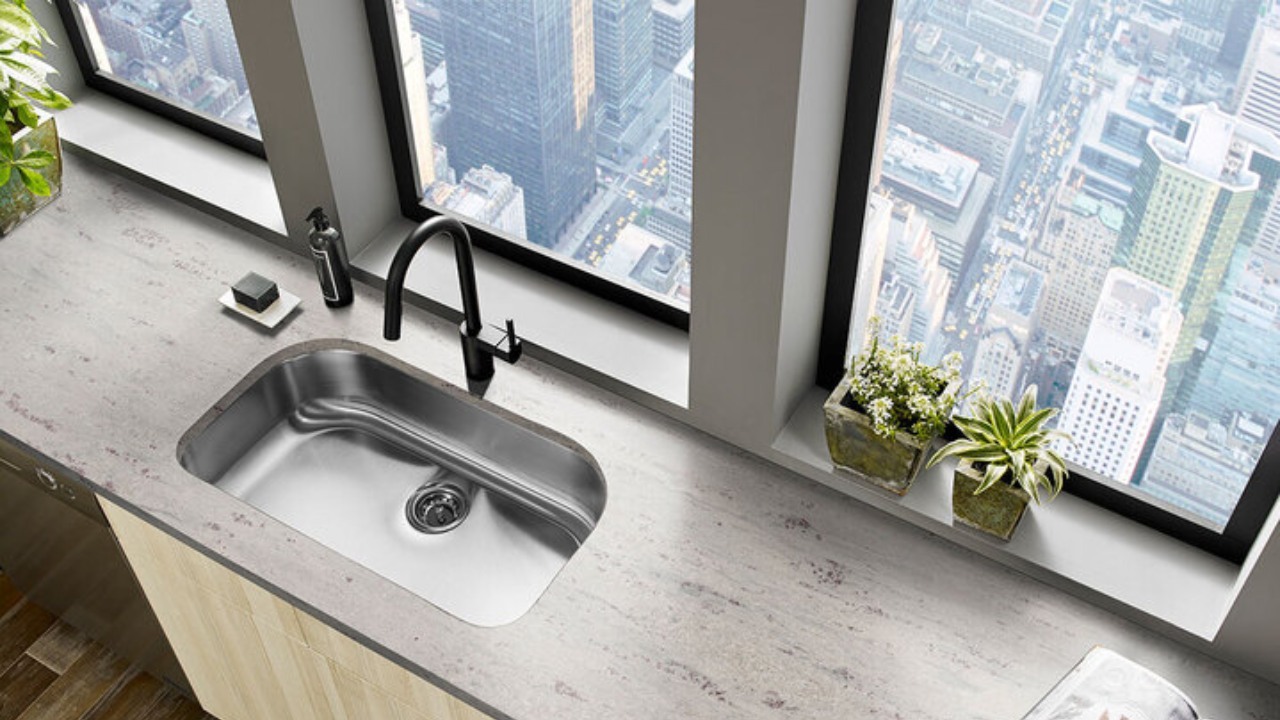
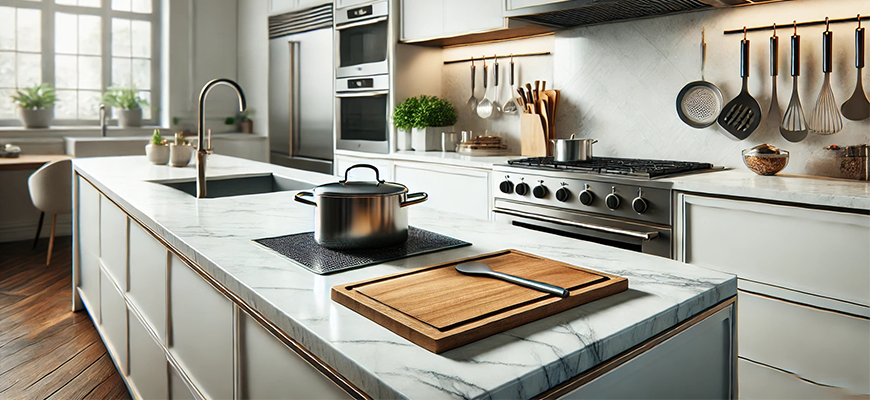
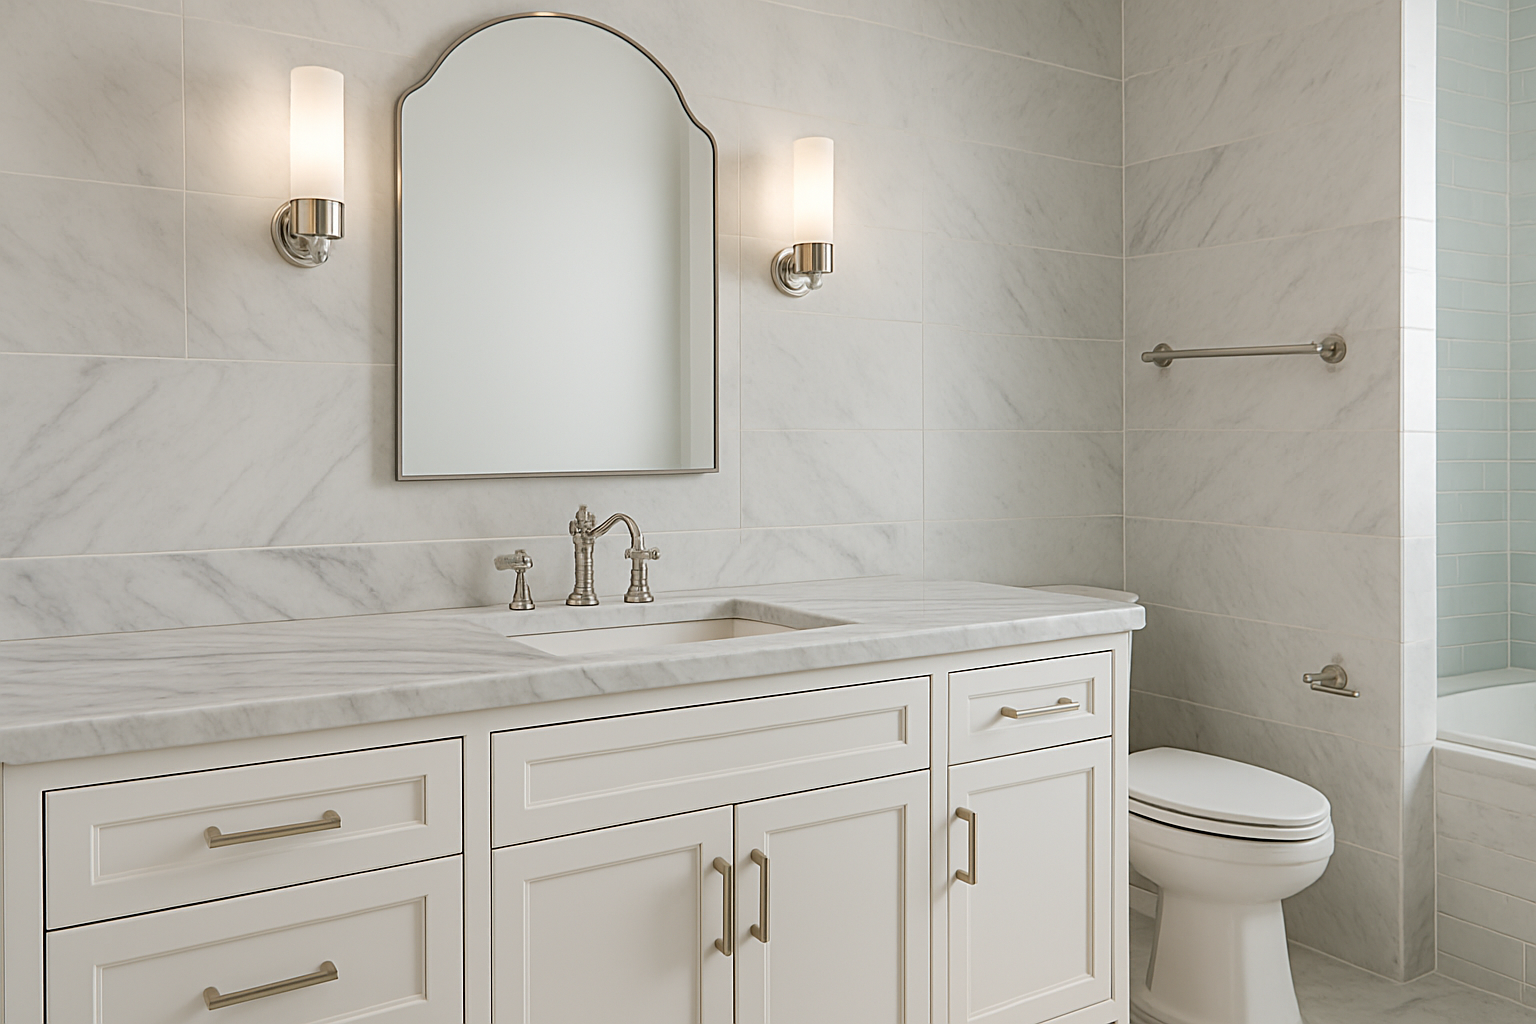
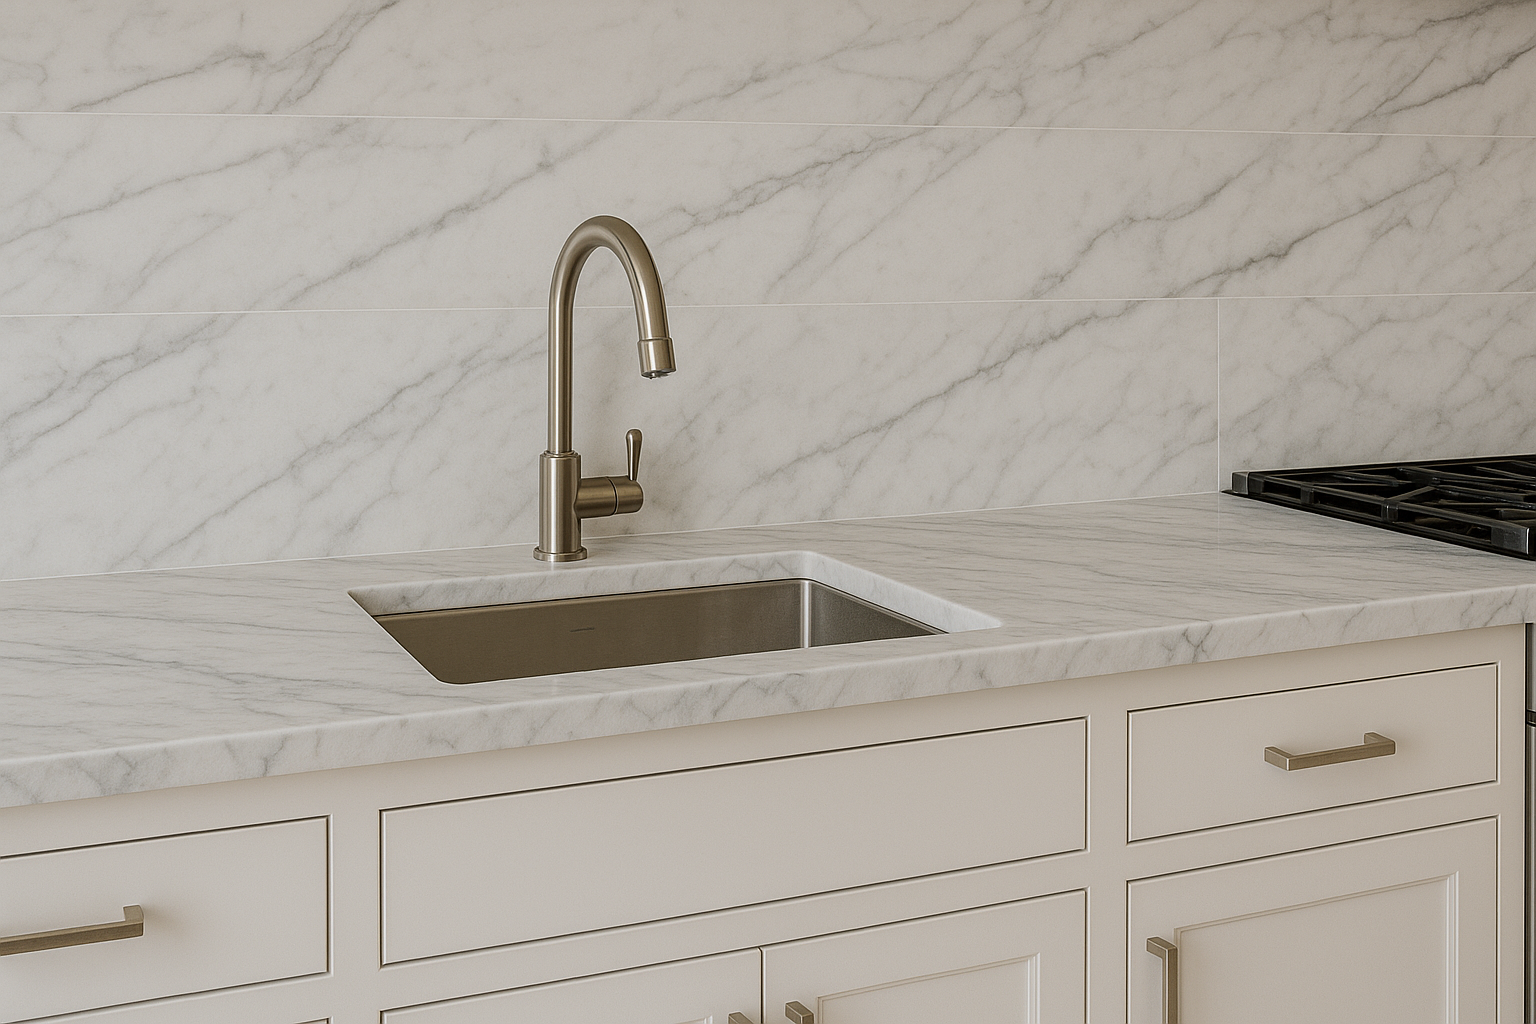
Countertops are one of the most popular choices for modern kitchens due to it’s durability, elegance, and low maintenance. Undermount sinks look great in home improvement when installed in these countertops. They create a unified, clean look that hides edges and simplifies cleaning. Homeowners often hesitate to install undermount sinks with a DIY approach. However, we can help you install an undermount sink without damaging your countertop or compromising the cabinet structure. These methods can also be used for ceramic or fireclay sinks, too, but with little reinforcement. Many homeowners planning this upgrade also search for the Best Kitchen Countertops to match their sink installation.
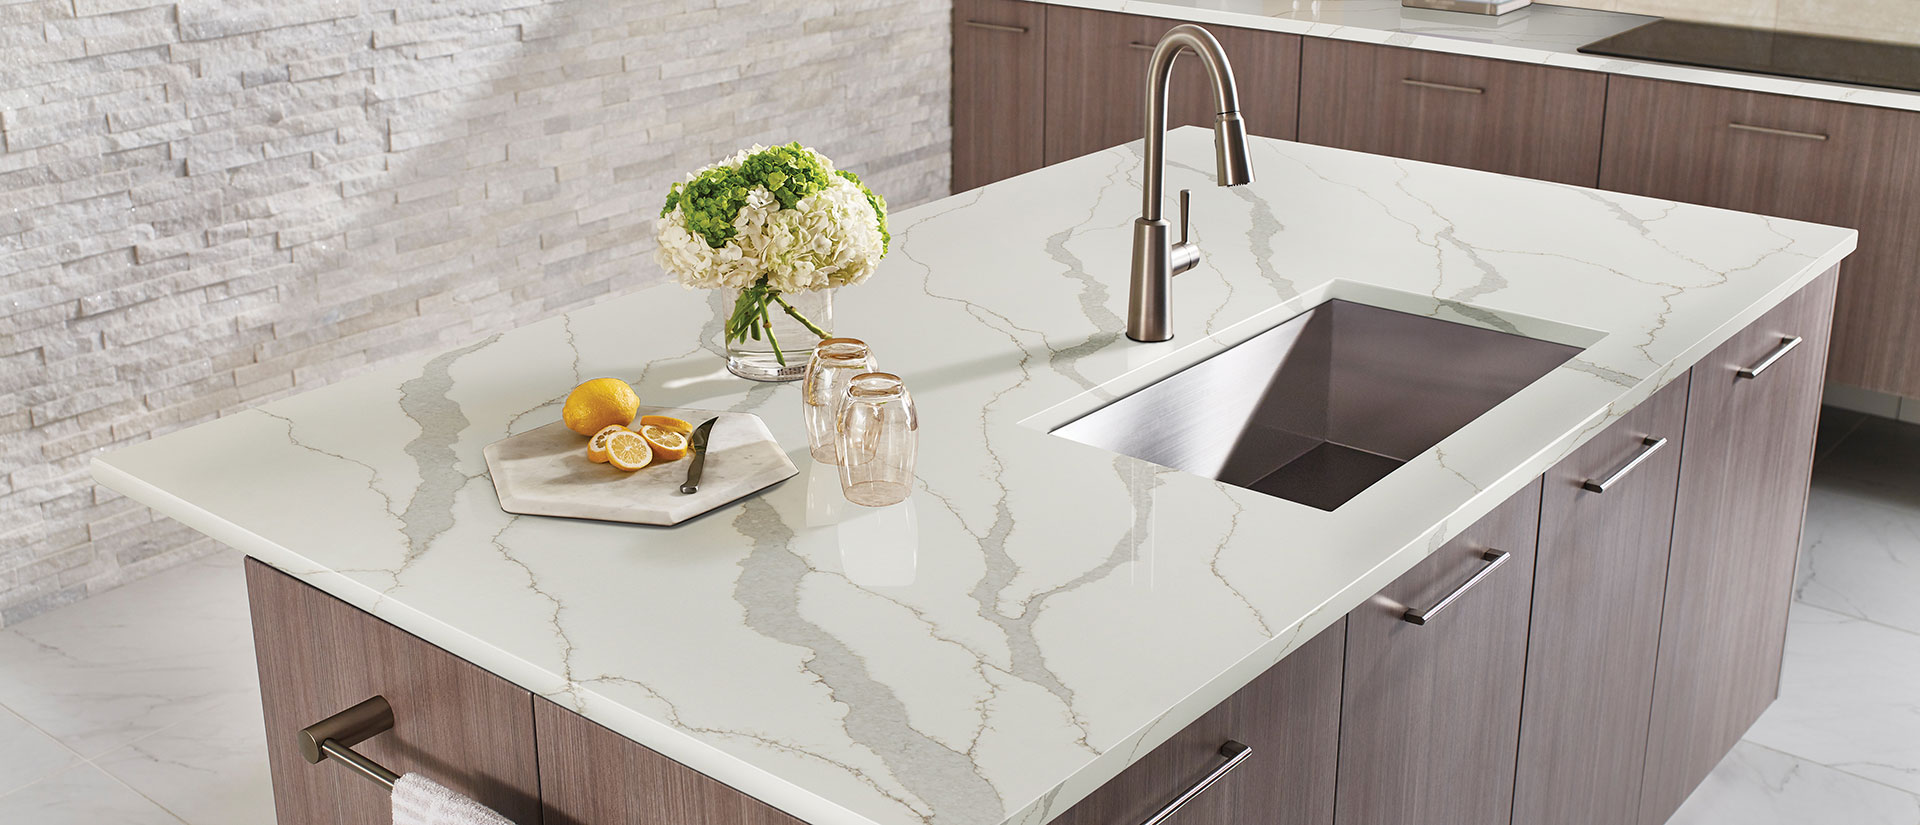
Step-by-Step Guide for Undermount Sink Installation
Here is our step-by-step guide for installing an undermount sink in countertops. These steps follow the best practices for stainless steel, composite, and fireclay sinks.
Step 1: Gather Tools and Materials
Step 1 of undermount sink installation is to gather the right tools to install the undermount sink.
- Undermount sink
- Silicone adhesive/sealant (or epoxy works great too)
- Mounting clips or brackets
- Nuts and bolts (accordingly)
- Clamps or temporary support blocks
- Measuring tape and pencil
- Level
- Drill with a diamond-tipped bit
- Cleaning supplies
These tools will help you create alignment for the kitchen sink, bonding, and long-term stability. Always verify compatibility between the undermount sink and countertop thickness. The base cabinet design should support the weight of the type of sink, especially if you’re Installing Marble Countertops, which require extra care.
Step 2: Prepare the Countertop
Step 2 of undermount sink installation is preparing the countertops. Installing a fixture on a countertop requires precision. You should start by:
- Make sure the countertop cutout matches the sink sizes and shape.
- Clean the underside of the sink and the countertop rim with the rubbing alcohol.
- Remove the dust, grease, and residue that may weaken the adhesion.
Silicone is perfect for cleaning the surfaces. Proper preparation prevents leaks and keeps the sink flush against the countertop.
Step 3: Dry Fit the Sink
Step 3 of undermount sink installation is dry-fitting the sink. Before applying the adhesive, dry-fit the sink in the given cutout first to check the sink fit.
- Position the sink under the countertop cutout.
- Check alignment with the edge.
- Make sure the sink sits flat and has no gaps.
- The flange should connect the ceramic of the sink to the metal pipes
This step will help you understand the look of an undermount kitchen sink without facing any further errors. You can prevent repositioning after the adhesive with dry fitting. This could damage silicone bonds or scratch the stone countertop.
Step 4: Apply Silicone Adhesive
Step 4 of undermount sink installation is to use a high-quality and waterproof silicone sealant.
- Apply a continuous bead of caulk to the sink rim.
- Spread the bead evenly for a uniform seal.
- Avoid large clumps that can push out excess or create uneven contact.
Silicone works best when water-tightening is crucial between the countertop and sink. It also cushions the slight movements. Non-corrosive silicone ensures long-term compatibility with stainless steel and composite materials.
Step 5: Position and Support the Sink
Step 5 of undermount sink installation is positioning and adding support into place carefully:
- Align the sink on the countertop precisely according to the cutout.
- Use clamps or wooden blocks for temporary support to hold the stainless steel kitchen sink while attaching brackets.
- Make sure the sink is leveled as the minor tilts affect drainage.
Using the temporary support prevents the stress over the stone countertop edges and avoids shifting during curing.
Step 6: Install Mounting Clips or Brackets
Step 6 of undermount sink installation is mounting the clips with adjustable clips. They are helpful in:
- Securing the sink by attaching the brackets and clips
- Tighten gradually, alternating sides to maintain alignment.
- Check with a level frequently.
You can have better structural support with mounting hardware besides silicone and epoxy adhesives. They prevent the sinking of the sink under any displacement or shifting. You will have peace of mind that the sink will stay securely attached even under the weight.
Step 7: Clean Excess Silicone
Step 7 of undermount sink installation is wiping away any excessive silicone that squeezes out using a damp cloth. Focus on the inside and outside edges of the sink rim. Clean lines to prevent those ugly silicone buildups and maintain a professional finish.
Step 8: Allow Silicone to Cure
Step 8 of undermount sink installation is curing. It is crucial for the best results:
- Let the silicone set fully for 24 hours (mostly).
- Do not install any plumbing fixtures or place weight on the sink during curing.
Proper curing will ensure you a strong, leak-proof seal between the kitchen countertop and sink.
Step 9: Connect Plumbing
Step 9 of undermount sink installation is now connecting the p, plumbing.
- Attach the drain assembly and P-trap.
- Connect water supply lines if applicable.
- Test for leaks using a bucket or towel to detect drips.
If the undermount sink is installed properly, you will have smooth drainage, which will prevent water damage to the cabinet below.
Test for leaks to prevent future water damage inside the cabinet. If you’re planning larger renovation projects, such as the Cost to Replace Kitchen Cabinets and Countertops, proper plumbing installation becomes even more important.

What Are The Tips For A Successful Undermount Sink Installation
Here is how you can install undermount sinks perfectly without a hitch.
| Category | Key Details |
| Choose the Right Sink Material | – Stainless steel sinks are lightweight and resist corrosion.
– Composite or fireclay sinks offer stronger durability and quieter operation, but add more weight. – Ensure the mounting hardware supports the sink’s total weight. |
| Verify Stone Thickness | – Standard thickness ranges between 2–3 cm.
– Thicker slabs provide better support for undermount sinks. – Thin slabs may require extra reinforcement or specialized brackets. |
| Use High-Quality Silicone | – Select silicone rated for natural stone.
– Choose sealants that resist mold and mildew. -Stone-safe silicone prevents damage to countertop edges and keeps the bond strong. |
| Maintain Level Alignment | – Even mild tilts create water pooling and drainage issues.
– Use a level during installation to keep the sink perfectly aligned. |
| Protect Cabinets | – Use temporary blocks to support sink weight during installation.
– Prevent stress or warping on cabinet frames, especially under heavy sinks or when the basin fills with water. |
Visit Our Showroom!
With expert guidance, you can compare textures, colors, and finishes to find the ideal material for your home.

FAQs About The Undermount Sink Installation
Let’s answer your questions about undermount sink installation
Q1. Can I install an undermount sink myself on granite?
Yes. But you need to per precise, well prepared, with proper tools and attention to detail. Precision prevents leaks, supports weight, and maintains granite integrity.
Q2. What type of silicone works best with a stone countertop?
100% waterproof, non-corrosive, natural stone-safe silicone is recommended. This ensures long-lasting adhesion and prevents discoloration.
How do I prevent my sink from sagging?
Use mounting clips or brackets along with the silicone. Temporary support blocks during installation prevent movement until curing is complete.
Q4. How long should the silicone cure before using the sink?
24 hours. This is the typical time for a cure. Once fully cured, it will ensure you a strong, leak-proof bond.
Can I install a heavy fireclay sink on thin granite?
Thin granite may need reinforcement brackets or professional installation to support heavy materials safely.
How do I clean excess silicone effectively?
Use a damp cloth or paper towel to clean the excessive silicone immediately. If silicone is hardened, carefully trim edges with a sharp utility knife.
Do I need to drill the stone slabs for the countertop for clips?
Many latest undermount sinks come with brackets that you can attach without drilling. If drilling is required, use a diamond-tipped bit and proceed cautiously to avoid cracking stone slabs.
What sink materials are best for stone countertops?
Stainless steel, composite quartz, and fireclay are perfect choices for an undermount sink. Material choice affects weight, sound, and durability.
10+ Years Experience
Transform Your Kitchen with Premium Stone Countertops
Professional fabrication & installation of marble, granite, and quartz countertops in New Jersey.
- Expert stone selection & consultation
- Precision fabrication & seamless installation
- Premium marble, granite & quartz options
- Licensed, insured & warranty protected
Bottom Line
You can install an undermount sink by yourself, but it requires precision, preparation, and quality materials. These steps will ensure you a durable and leak-proof installation that improves kitchen aesthetics and functionality. Silicone offers ample support to hardware and helps align it easily. With proper alignment and reinforcement, you will be assured that your sink is securely mounted. At Royal Marble and Granite NJ, we emphasize methodical installation. This is because it offers safety, style, and longevity. You can enjoy a professional installation look done by yourself. Following these principles ensures that your stone slab and undermount sink maintain their beauty and performance for years.

